| Parkland
College > Fine & Applied Arts
> Graphic
Design | Web Design
>
GDS 214 WEB DESIGN II Files: |
|
|
|
Printing from the Web JavaScript Print Method It's easy to make a print link of button in JavaScript. All you do is add the following code to your page.: <a href="#" onClick="window.print()">print this page</a> print this page
If you prefer to use a little picture of a printer or something, use: <a href="#" onClick="window.print()"><img src="../images/printer.gif" border=0 alt="print this page" width="61" height="53" align="right"></a> This is a pretty good trick but JavaScript HTML printing has many limitations. HTML is hard to format for printing as the printing looks differently depending on the users browser and monitor settings. As you already know, when you print a web page from the browser, it usually isn't pretty. It's functional but wouldn't it be great if it would print the same (the way you formatted it) for anyone who visits your site regardless of which browser or screen resolution he or she is using? Flash can help you overcome these problems and more. Enter Flash Flash offers precise formatting as well as support for vector and bitmap graphics in full color. You can even print something that is not even in the browser window. This means you can offer a different (higher quality) brochure for printing and another more optimized version for the web. In this lesson we will learn all about printing in flash. First, we will start out with a basic lesson and then progress to a project were visitors will be able to choose one of three posters to print. Let's get started.
|
|
|
|
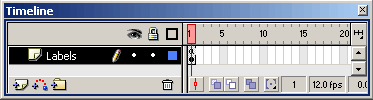
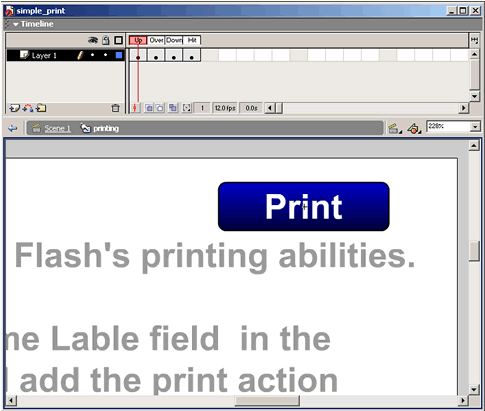
Printing with Flash Basically, all you need to do to make Flash print your flash page is to add #p to your frame. First we'll do that and then we'll make it more interactive. Open a new Flash document. Save it a simple_print.fla Click in Layer 1 in the timeline and rename it Labels.
Select (click) the first frame of your Labels layer and add #p in the Frame Labile field in the property inspector. Open the Actions Panel Window > Actions (F9) In the Normal Mode, click on the print action. Use the defaults for the rest of the settings.
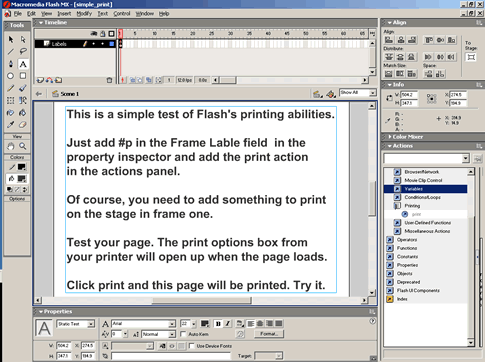
Add your content to the stage in frame one.
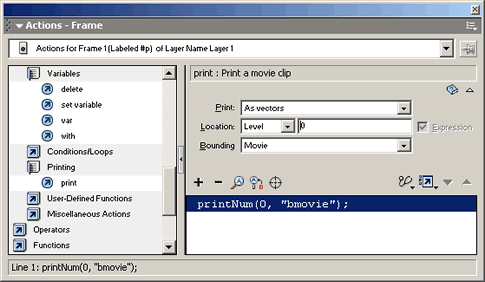
Test your page. So far so good but this isn't very impressive or interactive. We need to add a button so the user can choose to print our page. We can simply add a button and add the actionscript to it: on (release) { Then remove the printNum(0, "bmovie") from the layer
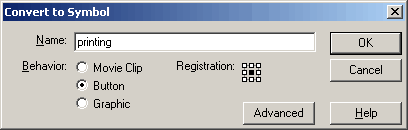
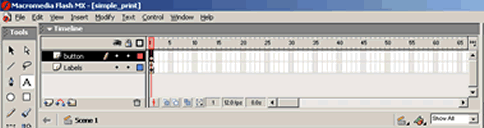
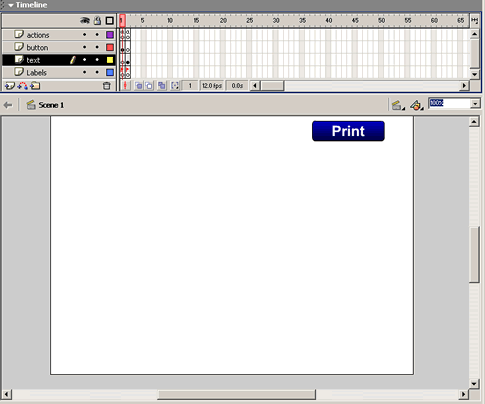
that you previously added. Now when you click the button, the page will print. The problem is that maybe we don't want the button to print out in our document. How do we solve this problem? Printing without printing your print button First we add a new layer called button. In the button layer, Create a button. I used the rounded rectangle tool to create my button shape and then added the word "Print" by using the text tool. Change your shape into a button symbol. Insert > Convert to Symbol Select Behavior as Button I named mine "printer"
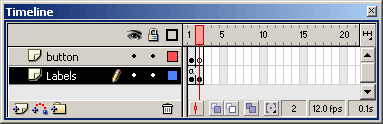
Add a key frame in the Labels Layer and add a blank key frame to your new button layer. Insert > Key frame (F6) Insert > Blank Key frame (F7)
Delete the printNum(0, "bmovie"); from the Actions Panel that you previously added in frame one. Window > Actions (F9) In the property inspector add an apostrophe (!) in front of the #p that you previously labeled in frame one. It should now say !#p Note: This tells Flash not to print this frame.
In frame 2 of the labels layer add #p in the property inspector.
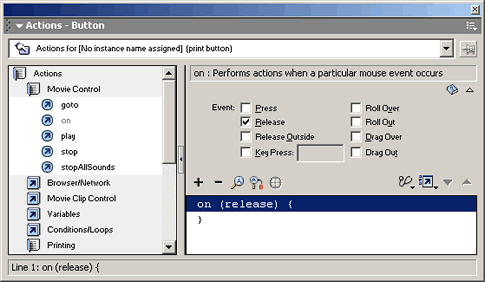
Select your button in the button layer. In the actions panel, in the normal mode click on "on" and be sure the "on release" selection is selected.
Next, click on the print action. Select the Frame option under Bounding.
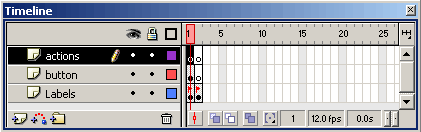
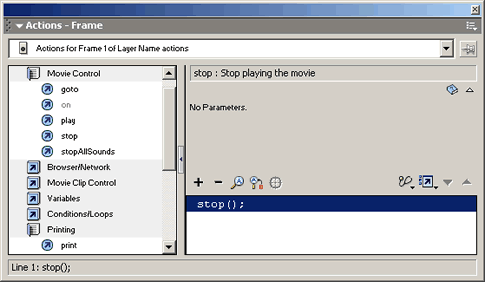
Add one more layer and call it actions. Add a key frame at frame one.
Add a stop action on frame one of the actions layer.
Test your movie. It should print our your document without the button. See it here: Printing what you don't see What if you want to not se your document at all and only print it? Or what if you want to print a high quality document and view a more optimized view for the web? Simply ad a blank key frame to frame on of your text layer and that's it. You will only see your print button and not the text to be printed. In order to do this though, it's a little trickier than it sounds because when you add a blank key frame to frame 1 it adds it to frame two since frame one already has a key frame in it. Just copy your text, then add a new blank key frame in frame 1 (frame 2), then delete the text in frame one, and paste your text into frame 2.
Here is the code:
|


|
|
|
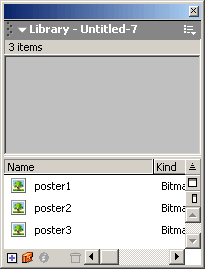
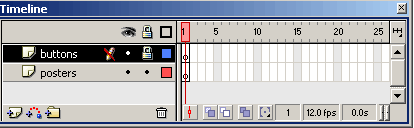
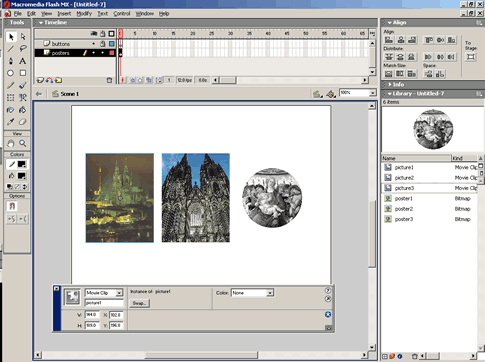
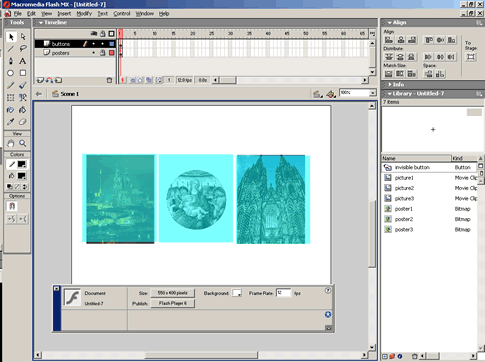
Printable Posters Print_posters.zip Create a new flash file import your three graphics into the library:
create two layers
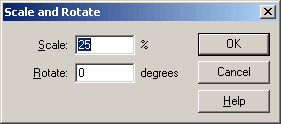
lock the buttons layer for now drag in an instance of each of your graphics. Resize them.
change each one of your graphics to a movie clip and name each one in the property inspector
Click on frame one of the posters layer and add the don't print code (!#p)
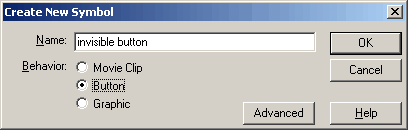
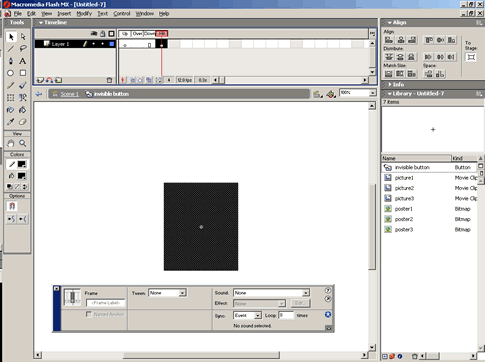
Create an invisible button. Insert > New Symbol
Add a key frame in the hit area and draw a rectangle in the hit area.
click on each one of your movies and click in the first frame and add the print command (#p) in the frame name.
lock the posters layer drag three copies of the invisible button into the button layer and size each to fit over your graphics.
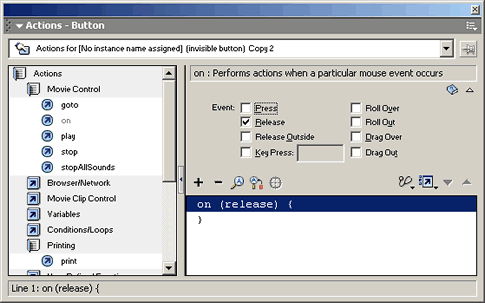
Select the first button and open the actions panel. Be sure to be in the normal mode. Click on "on" and select Release.
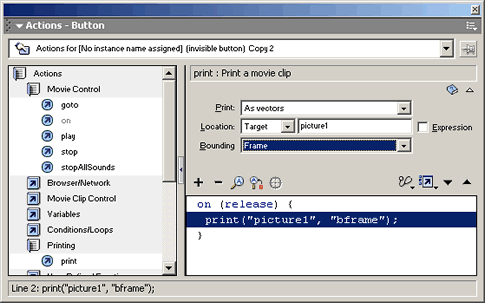
click on the print command change the location to target, name it picture1, and the bounding to frame.
Do the same thing for your other two invisible buttons. Save your work and you are done.
Notes:
|


|
______________________________ Last updated: 8/26/03 Webmaster: Paul Young |