| Parkland
College > Fine & Applied Arts
> Graphic
Design | Web Design
>
GDS 214 WEB DESIGN II
Files:
|
|
|
|
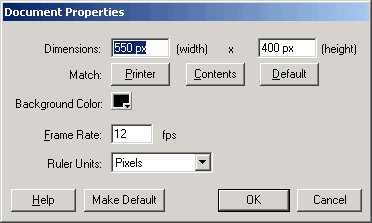
Flash Intro I decided to do a flash into for a group travel company featuring world youth day 2005. The target audience is Catholic youth from 16 to 35. I wanted to give them somthing exciting so I decided on a trip to space and then to Cologne Germany in a few minutes or less. Sounds like a big job, right? Well let's ee how easy it really is. Actually, with this example, we only get to space. Maybe you can continue on with it and get us back on solid ground. First create a new document in Flash. Initially, I thought about rasing the frame rate consideribly above the default 12 frames but after reviewing the potential download time decided to go with the default rate of 12. If I don't feel that it's fast enough, we can increase it in the final document.
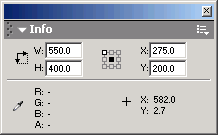
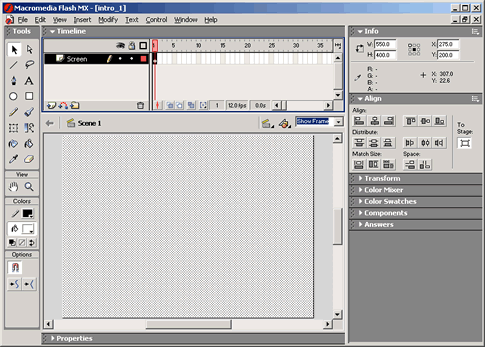
The Elastic Screen Effect Scene 1 First we are going to create a border that shape tweens as the animation begins to create a sense of motion and speed. Create a new layer by clicking on the layer button in the bottom of the timeline and call it Screen. Inside the Screen layer, create a white rectangle with no stroke (border) the same size as your document (550 wide and 400 tall). Use the info panel and the align tool to be sure that your graphic covers the screen exactly. Be sure the registration point is in the center position.
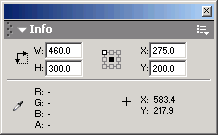
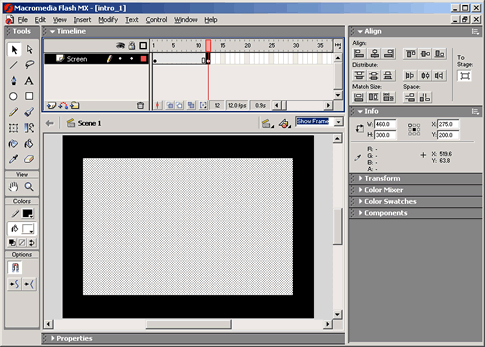
Insert a keyframe at frame 12 Insert > Keyframe Change the size of your Screen Layer graphic to 460 width and 300 height in the info panel. If you have your registration in the center, your graphic shoud still be centered. If not, use the align tool to be sure that your graphic is in the center of the stage.
Insert additional keyframes at frames 18, 24, 30, and 36. Insert > Keyframes (F6)
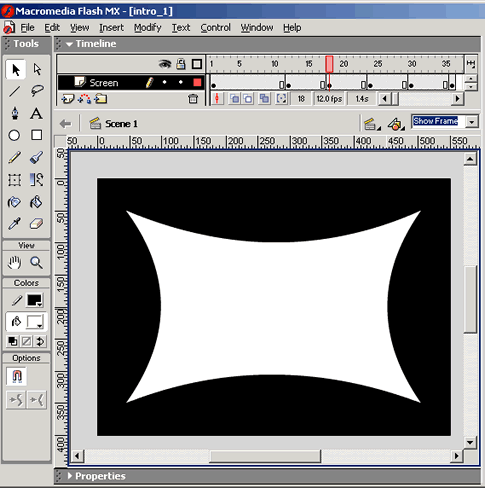
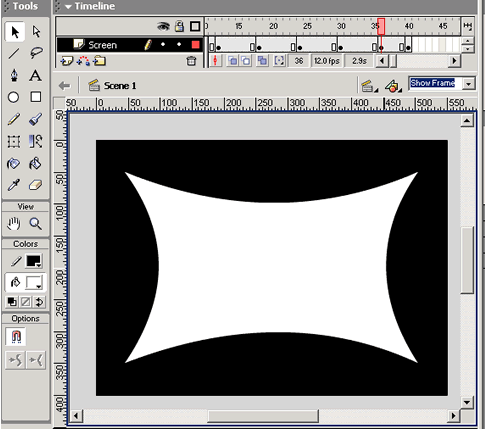
Turn on your rulers View > Rulers At frame 18 use your arrow tool to pull the sides of your rectangle in about 50 or 60 pixels until you get the effect below:
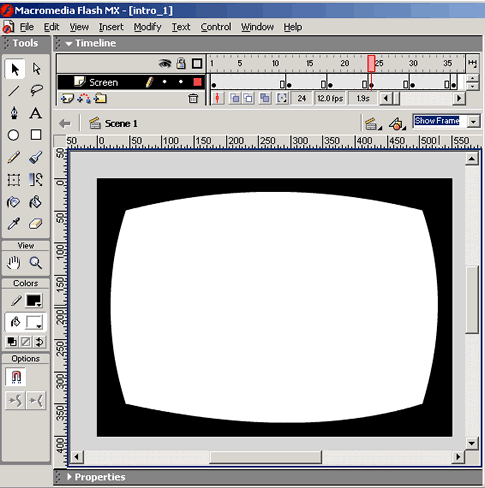
At frame 24, pull the sides of your rectangle out about 30 pixels on each side until you come up with the following shape:
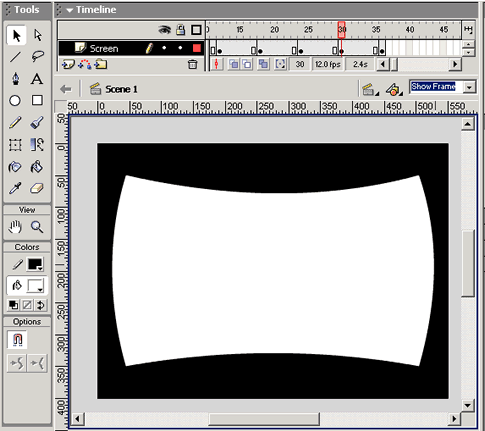
At frame 30, pull your top and bottom edges towards the center of the object again similar to the the graphic on frame 18 and pull the sides away like you did on frame 36 but this time don't be quite so extreem.
Add another new keyframe at frame 40. Insert > Keyframes (F6) At frame 36, modify your shape to some think similar to frame 18.
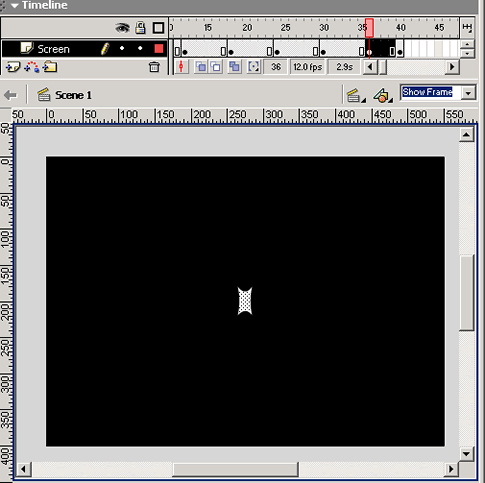
then click on your objext in frame 36 and reduce the size on the info box to 20 height and 20 width in the info box.
Add shape tweens for your entire animation. Either select a frame between each of the keyframes or select all of the frames at once by selecting and holding down the shift key then add the shape tween in the property inspector for all of your frames.
Your time line should now look like this:
Set the easing at:
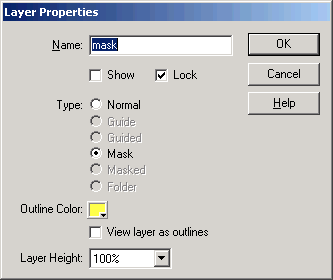
Save your work and view your animation. You should see the effect. Adding the mask We will add our mask now but won't sctivate it until later. Add a new layer and name it mask. Insert a blank keyframe at frame 40. Copy the white box from the screen layer at frame 40 and then paste it in place in frame 40 of the mask layer. Edit > Paste in Place Click on the little graphic next to the layer name to bring up the layers properties box and select masked.
Then click the lock and the hide icons on the mask layer to put it away for now until we need it later.
Add another layer above the mask layer and call it whiteani. Insert a blank keyframe at frame 40. Copy the white box again form the screen layer at frame 40 and paste it in place on the new whiteani layer at frame 40. Edit > Paste In place
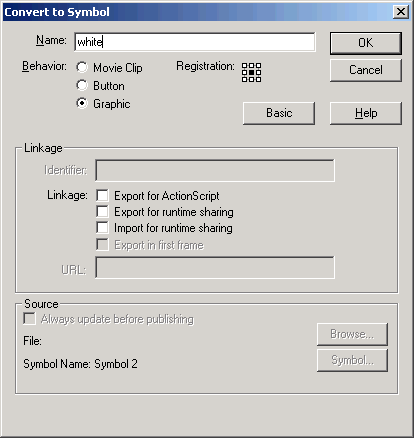
Select the white rectangle in the whiteani layer and convert it to a graphic symbol called whiteani. Insert > Convert to symbol (F8) Double Click on the white rectangle to enter symbol editing mode. Click on the white rectangle again and then convert it to a graphic symbol. Name it white.
Back in the timeline for the white ani graphic symbol, create a keyframe at frame 12 and add a motion tween.
Select frame 12 of the whiteani timeline and then click on the graphic. Set the alpha to 0% in the property inspector.
Click on Scene 1 to return to the main scene. Lock and hide the new whiteani layer for now.
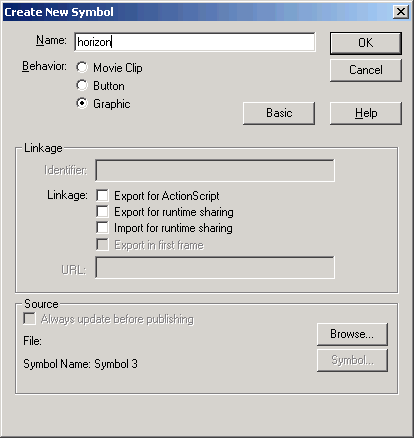
The main movie Now we will get started on our main movie. This will be our flight simulator. Unlock the screen layer and select the white rectangle at frame 40 again. Copy it. Edit > Copy (Ctrl + C) Create a new graphic symbol. Name it: horizon Insert > New Symbol (Ctrl + F8)
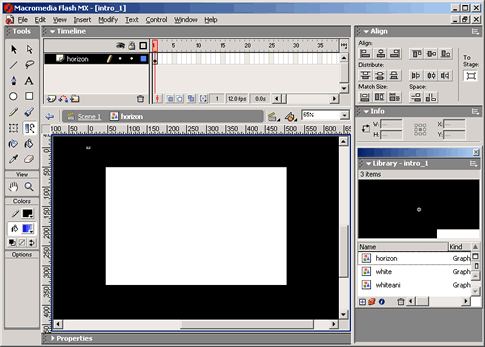
Paste the white rectangle you copied from the screen layer in frame 40 into place in frame one of your new graphic symbol (horizon).
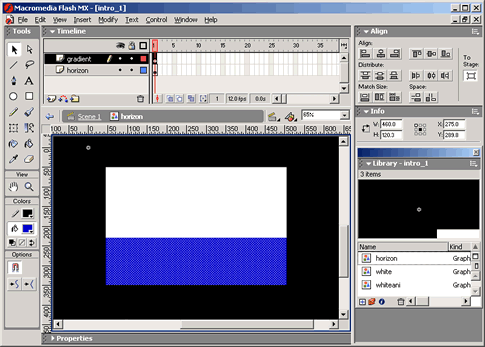
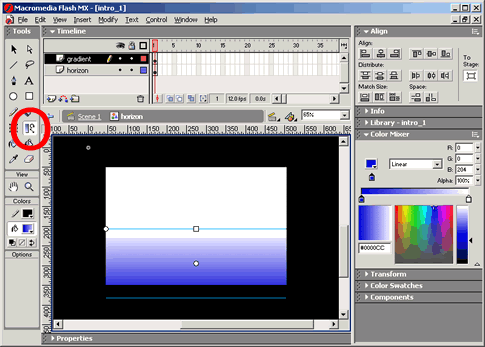
Name the main layer horizon and add another layer and name it gradient. Draw a blue rectangle with no stroke (border) in the new layer from about two thirds down the white area to the bottom covering the entire bottom of the white area.
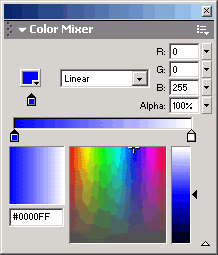
Select the blue rectangle. Open the color mixer tool
Select: Linear On the left color tick, select blue (R:0, G:0, B:204) On the right tick, select white (R:255, G:255, B:255) Click on the gradient modifyer tool and rotate the gradient 90%. Then resize it to make it shorter in order for the gradient to appear as the horizon over water.
Select both layers and convert it into a graphic clip
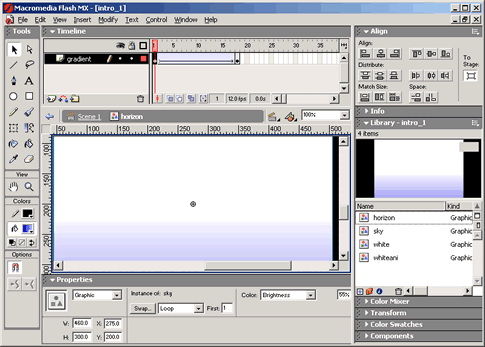
Delete the horizon layer (there should be nothing left in it). You should have one layer left inside your graphic symbol horizon. Add a keyframe at frame 18 and a motion tween. Set the easing to 100.
In frame 1, change the brightness to 55%.
Click on frame 18 and change the size to 540 width and 390 height. Be sure the graphic is centered.
Insert a keyframe at frame 36. Move your graphic down about 25 pixels. Y = 250
Create another keyframe at frame 48. Add the motion tween. Click in frame 48 and move the grapic up 25 pixels again. Y = 200
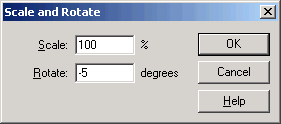
Add another keyframe at frame 54 and then add the motion tween. Click on the keyframe in frame 54 and then the graphic. Rotate the graphic -5° Modify > Transform > Scale and Rotate (Ctrl + Alt + S)
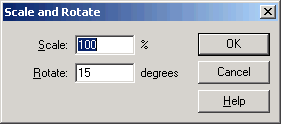
Add another keyframe at frame 60 and then add the motion tween. Click on the keyframe in frame 60 and then the graphic. Rotate the graphic 15° Modify > Transform > Scale and Rotate (Ctrl + Alt + S)
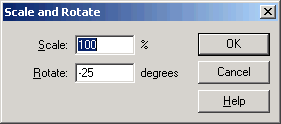
Add another keyframe at frame 69 and then add the motion tween. Click on the keyframe in frame 69 and then the graphic. Rotate the graphic -25° Modify > Transform > Scale and Rotate (Ctrl + Alt + S)
Add another keyframe at frame 80 and then add the motion tween. Click on the keyframe in frame 80 and then the graphic. Rotate the graphic so it is level again. Modify > Transform > Skew and Rotate This time you will drag the graphic to the upright position. Move the graphic down about 5 pixels
Set the easing:
|
|
|
|
|
|
______________________________ Last updated: 8/26/03• Webmaster: Paul Young |
