|
Parkland
College > Fine & Applied
Arts > Graphic
Design | Web Design
>
GDS 214 WEB DESIGN II
|
|
|
|
Video Button in Flash and Photoshop This lesson shows you how to use both Photoshop 7 and Flash to modify a Quicktime or other video file into interesting buttons.
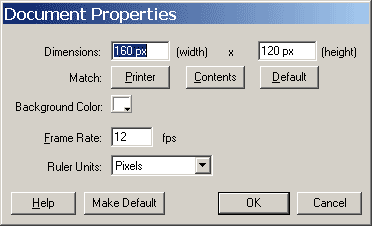
File > New (Ctrl +N) Open a new Flash File. Make sure that the dimensions are the
same as the video that you are planning to import to make your
buttons from. Modify > Document (Ctrl + J) Width: 160 Height: 120 Download: Space 1 - or Space 1 zip or use a video of your choice and be sure to choose the correct document size (see above).Import your video into Flash to
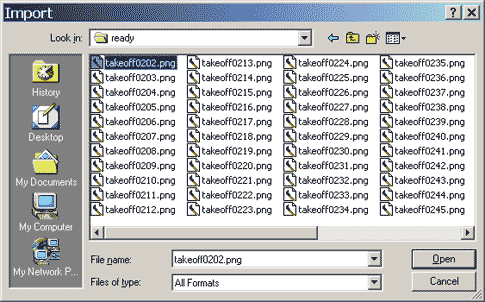
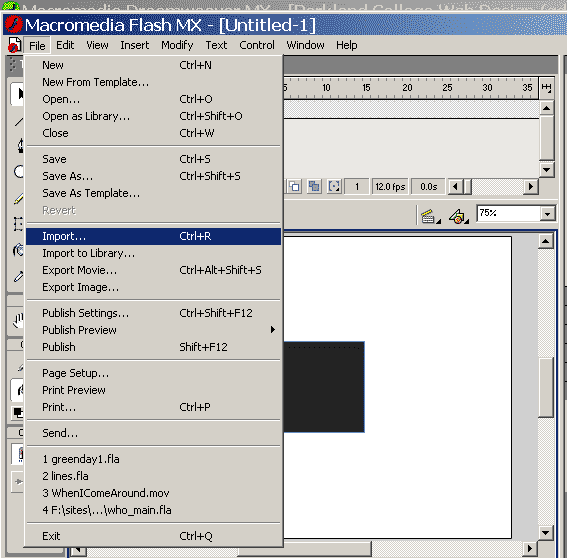
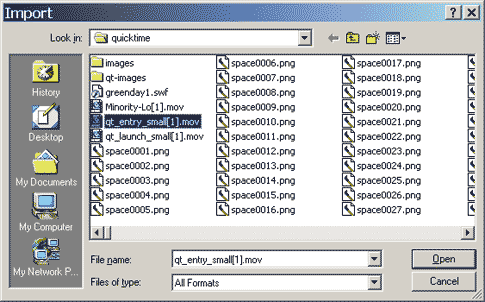
layer 1. File > Import (Ctrl + R)
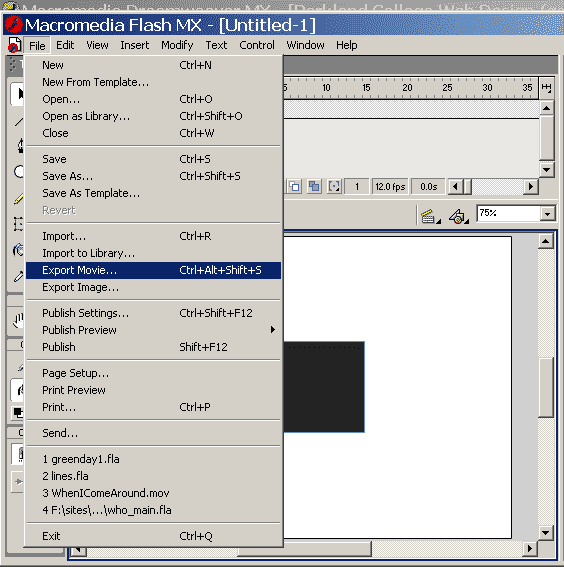
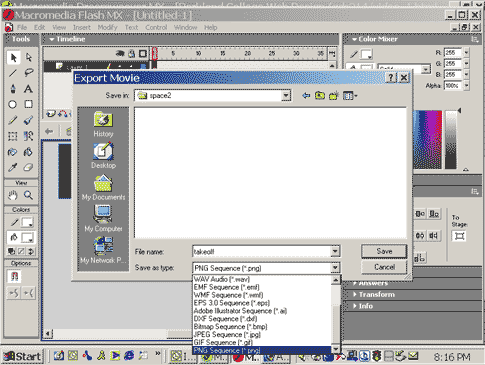
If you forgot to make your document the same size as your video, do it now and use the align panel to be sure your video is in the center of your document. Now we will export our movie so we can modify it in PhotoShop. File > Export (Ctrl + Alt + Shift + S)
Make a folder for your images. Use the pull down in the "Save as type" section to select PNG sequence Be sure to name your file name in the "File name" box.
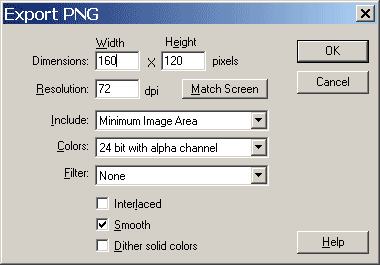
Click OK in the Export PNG box.
You will see this box pop up while your images are exporting.
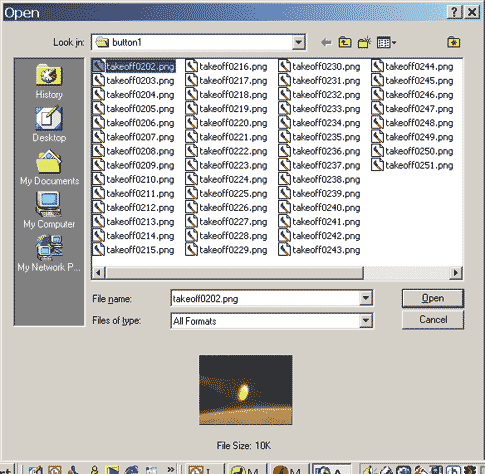
After Flash completes exporting your images, you may close this file with or without saving it (we won't need it again so there is no use saving it). Next Open PhotoShop Copy the files that you want to your movie to another folder.
I copied files from takeoff0202.png to takeoff0251.png. Note: You might want to try this less files than the 50 that I used. The final file size will greatly depend on how many frames you use in your flash file. If you want a smaller file, use less pictures. Open on of your images in photoshop to practice on.
Get a pencil and page if you need it to remember what steps that you want to do to your image. Next we will be using the automate tool in PhotoShop and it isn't very forgiving when it comes to undoing and redoing stuff. You will need to know exactly what you want to do to your image before you start recording your action. Feel free to experiment with any of the filters, resizing your image or just about anything else that you might like to do in PhotoShop but be sure to remember what you did so you can record it in the next step.
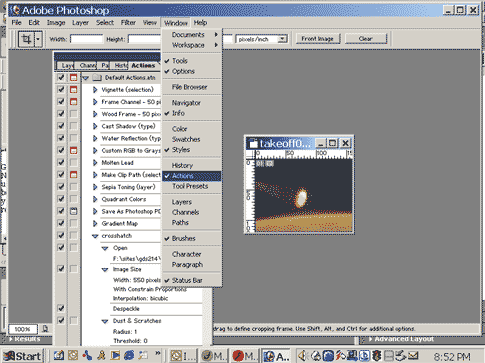
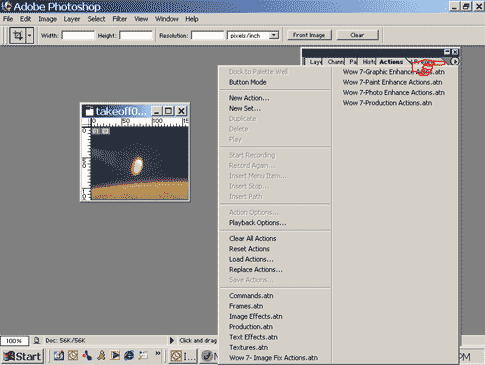
Window > Actions
In the actions window to the far right at the very top there
is a menu for the actions panel. Click on it to reveal your
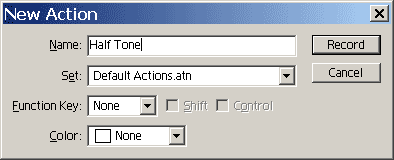
options. Select: New Action In the New Action dialog box, name your action. I named mine "Half Tone." Click on "Record" to start recording your actions.
Open an image and do your thing. Here are my steps: File > Open Image > Adjustments > Auto Levels Image > Adjustments > Auto Contrast Image > Adjustments > Auto Color Filter > Noise > Despeckle Filter > Blur > Smart Blur I used a radius of 3.0 and a threshold of 25.0. I changed the quality to "high" and left the Mode at the default of "normal." The I set the background color to bright red: #FFOOOO (R: 255,
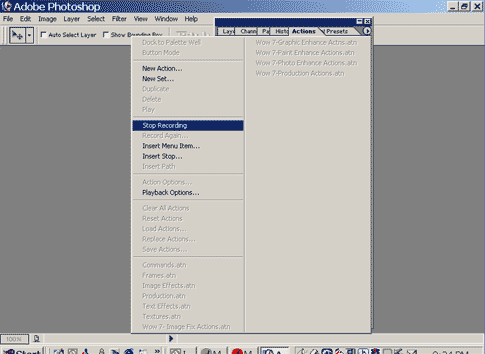
G:0, B:0). Filter > Sketch > Half Tone I used a size of 1, contrast of 1 and used the "circle" pattern type. In the actions panel menu, select "Stop Recording."
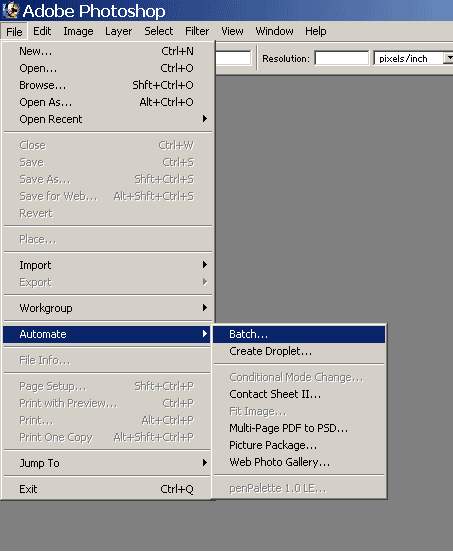
Make a folder to put your new images in. File > Automate > Batch
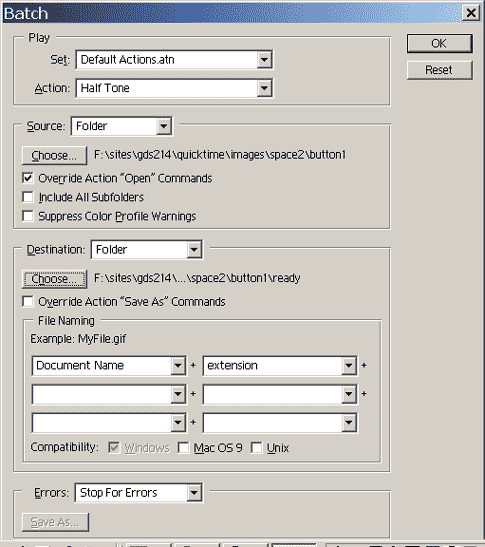
Select your action that you just created from the "Action" pull down if it is not already selected. Choose the Source and Destination folders for your graphics. If you used an open command in your action, be sure to check the box beside where it says: Override Action "Open" Commands
Go and take a break because it might take a little time for PhotoShop to process your images. You will see the actions going on in the the actions window for the action that you just executed. As soon as PhotoShop is done, you may close the program. In Flash... File > New Modify > Document Change the height and the width to the size of your video in the Document Properties window.
Click in layer 1 File > Import Click on one of your png files
Flash will ask you if you want to import the images as a sequence, say "yes".
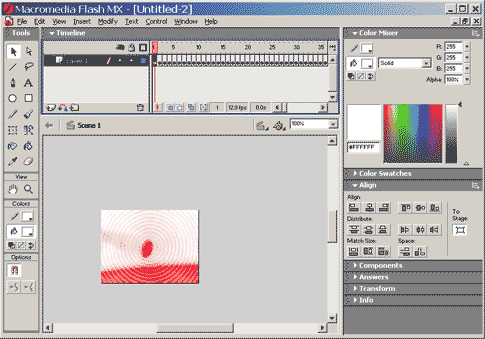
You will see your images in frames in your layer 1 in the time line.
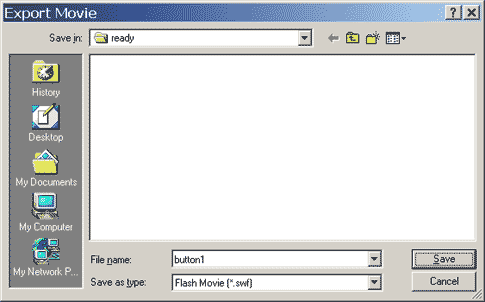
File > Export Movie Name your file and use the pull down menu under file type to
choose:
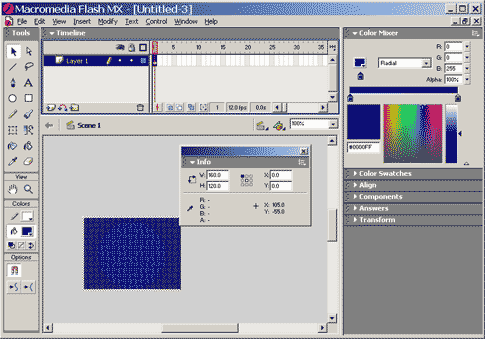
Open a new file and size it to the exact size of your movie
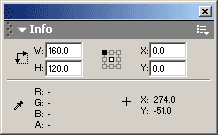
as you did previously. File > New Draw a rectangle on the entire canvas. Use whatever color that you would like your button to be. I used the blue gradient with no border color. Tip: Use the info window to be sure your layer is the correct size and placement.
While the rectangle is still selected, turn it into a button
movie clip. Name it whatever you wish. I called mine button1. Insert > Convert to Symbol Be sure to select "button" as the behavior.
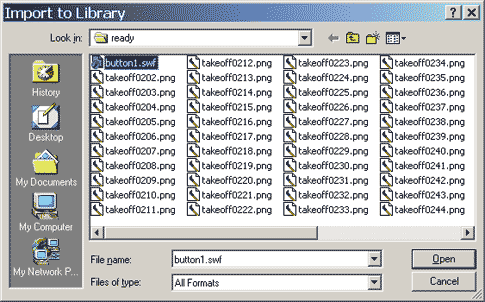
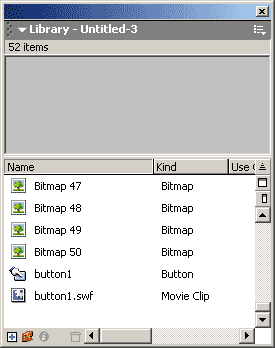
Import your swf file that you just made into the library. File > Import to Library
Open the library window if it isn't already open. Window > Library
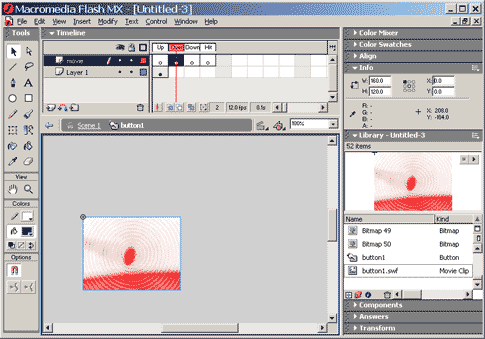
Double Click on the button in the window to enter the symbol editing mode. Add a new layer and call it "movie". Add blank key frames at the "over", "down", and "hit" position. Click on the over frame in the movie layer and drop a copy of your swf into the stage. Use the info window or the align tool to center your video in the button.
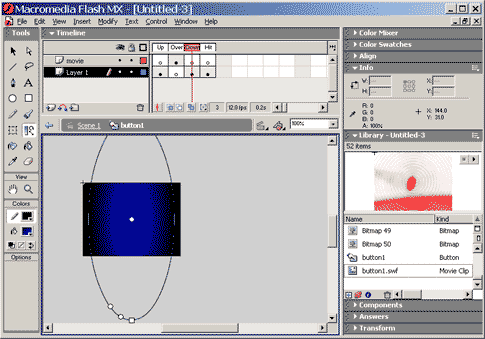
Make blank key frames in layer 1 in the over, down and hit positions. Copy your graphic from the up state and paste it into the down and the hit states (frames). I selected the graphic in the down state and then clicked on the gradient modifier in the tool panel to change the shape and direction of my gradient.
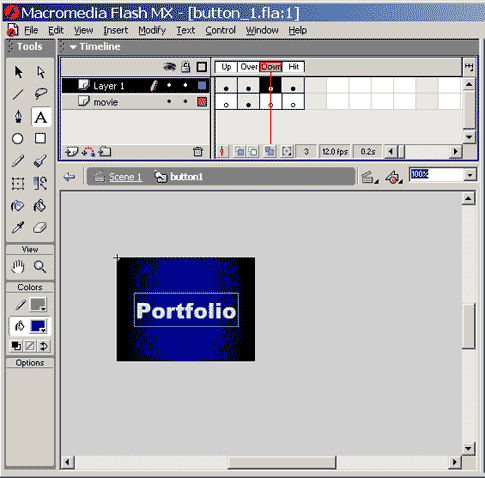
If you wish to add text to your button that will activate in up, over and down states, you may do so inside the button. I called my button "portfolio." I also reversed the layers so my movie would be behind my text.
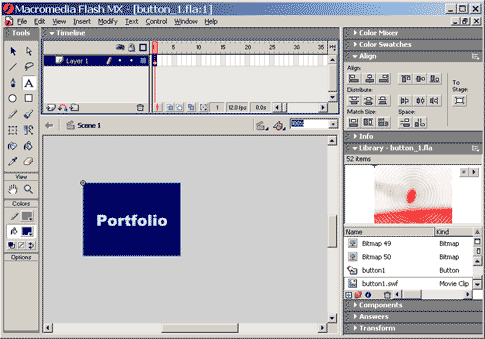
Click on Scene 1 to go back to the main scene.
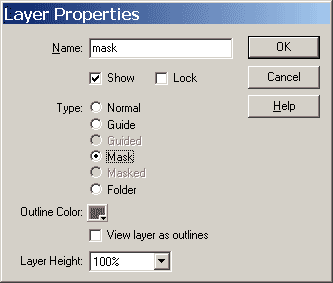
Save and Test your file. It should activate the video when you mouse over your button image. Add a mask layer. Next we will add a mask layer in order to give our button a more button like shape. Add a new layer called "mask" and rename layer 1 to "button." Click on the little icon just to the left of the name in the layers panel to open the layer properties menu and choose mask for the mask layer.
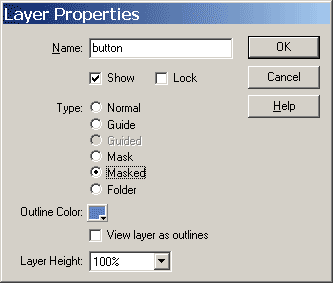
Double click on the icon to the left of the name in the button layer to bring up the layer inspector for this layer. Check "masked".
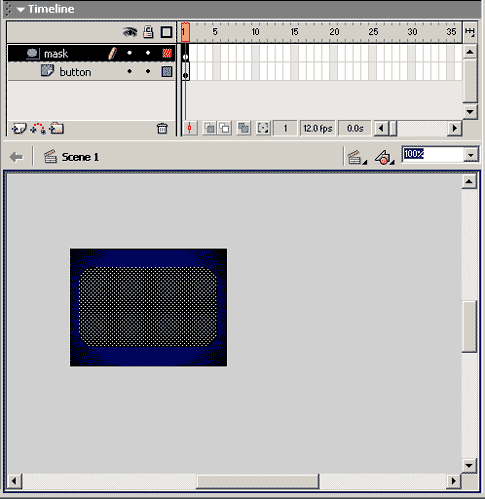
Your timeline should now look like this:
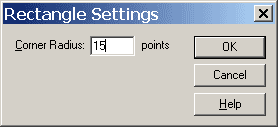
Click in the frame in the mask layer. Select the rounded rectangle tool, change the corners to 15, the fill color to black and borders to transparent.
Draw a black rounded rectangle in the mask layer.
Save your file and test it.
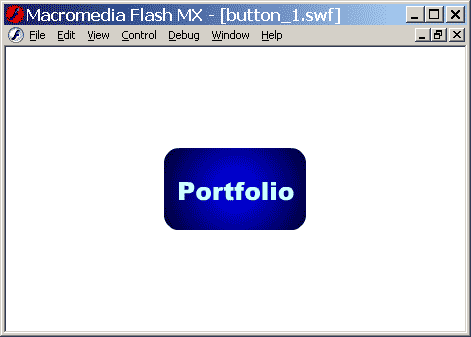
Here is the final file:
Here is the FLA File: button_1.fla or button_1.zip See it full page size on the web.
|
|
|
|
Download: Green Day 1 - Green Day 1 zip Green Day 2 - Green Day 2 zip
|
|
______________________________ Last updated: 8/26/03 Webmaster: Paul Young |

 .
.